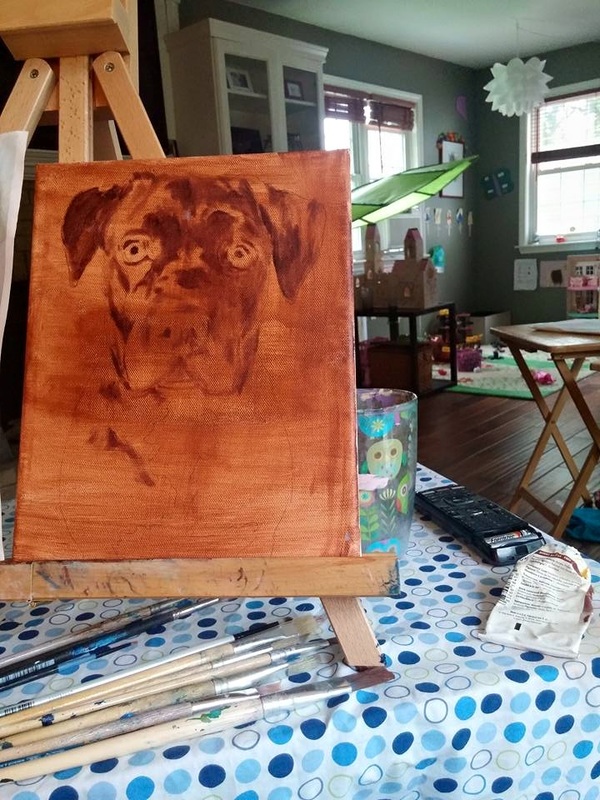
I'm not going to go into depth on each pic like I have in the past, but I do want to talk about my process painting in black. I'm not sure if a.) painting black fur is really difficult, or b) I just made it harder than it needed to be! haha From the feedback I got on my Art Forums though, painting black fur IS tough! I went about it like this:
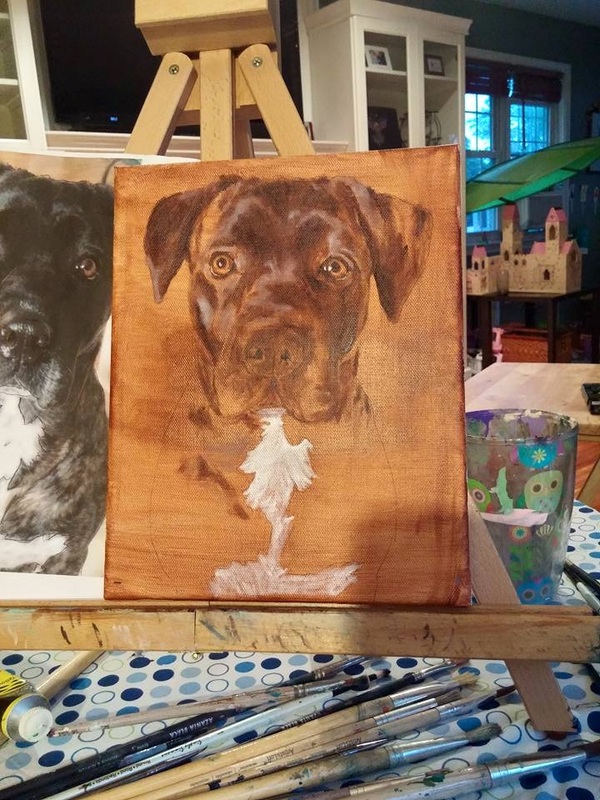
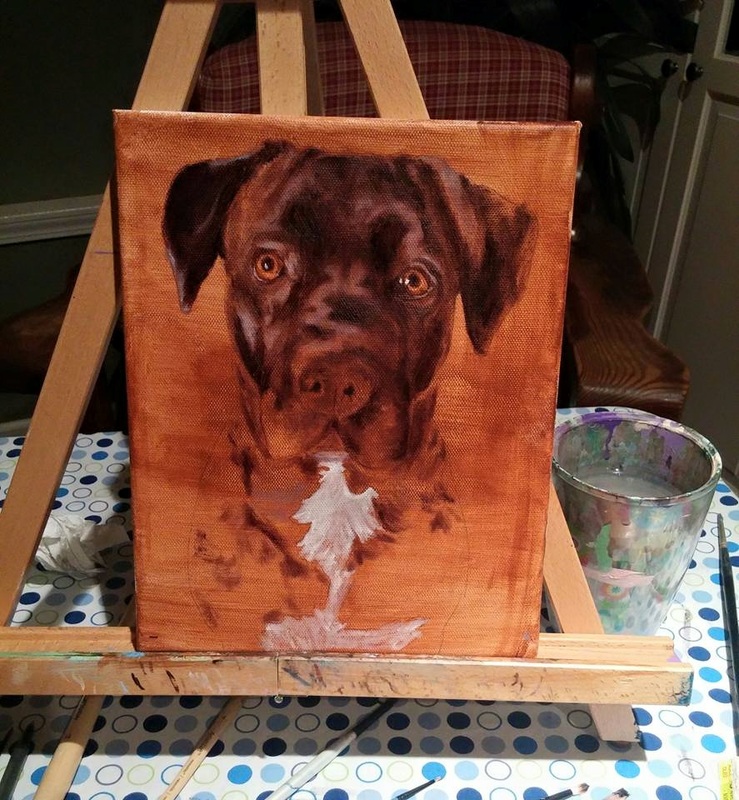
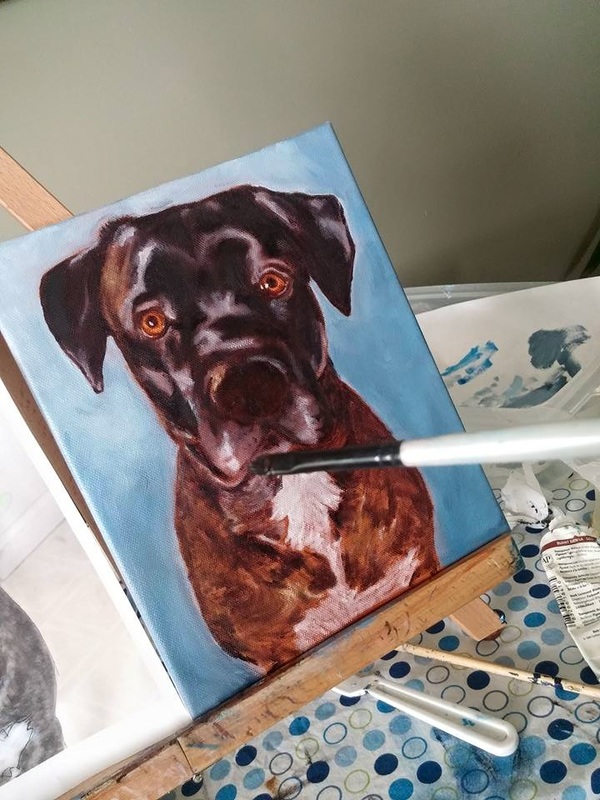
I started with my Burnt Sienna underpainting as usual and blocked in my darks with a dark umber. From there I built up that umber to a chromatic black that I mixed from Ultramarine, Alizarin Crimson & Raw Umber. After I got that pretty much all over, I then went into my darkest areas with another chromatic black that was even darker than the other, by adding more ultramarine to the mix. The tough part for me was covering all of that underpainting without rushing it and overlooking the different "black" undertones. If that happened I would end up with a dull black blob! So... once I got that to where I liked it I took my leap of faith. Adding straight from the tube Lamp black. My plan was to use this for only the darkest of the dark spots. I had my fingers crossed it would work. After I tried it out on the left ear and eye area, I got up from my easel, walked across the room and nervously turned around to see if it was working. IT WAS! Bob looked at me like I was nuts! I was cheering as if my favorite team just made a goal! Thing is, I wasn't sure how the lamp black would play on my chromatic black, and if this didn't work I didn't know HOW I would get the depth I was looking for unless I could mix an even deeper chromatic black. (which I'm sure is possible...but glad this worked out!)
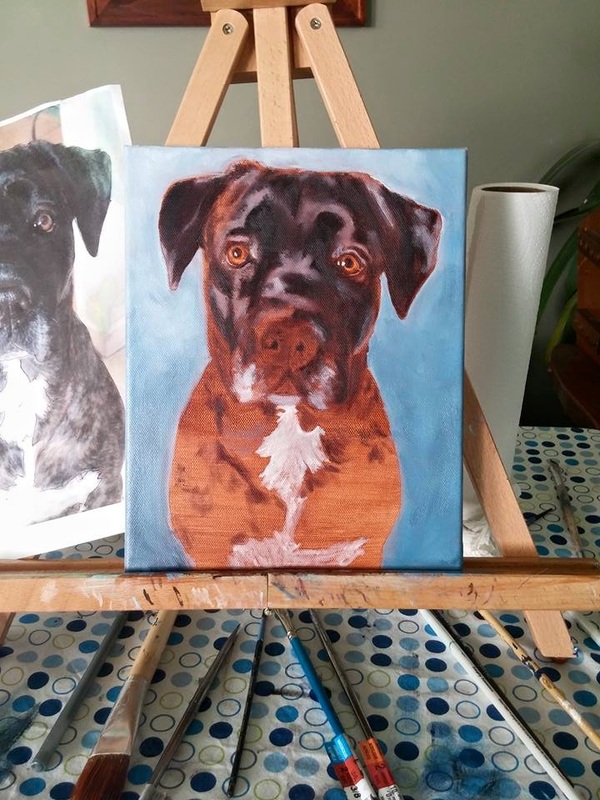
As far as the whites, same as my other explorations into white highlights except here I had to be careful when I blended as to not get a muddy flat grey when the whites hit the lamp black.
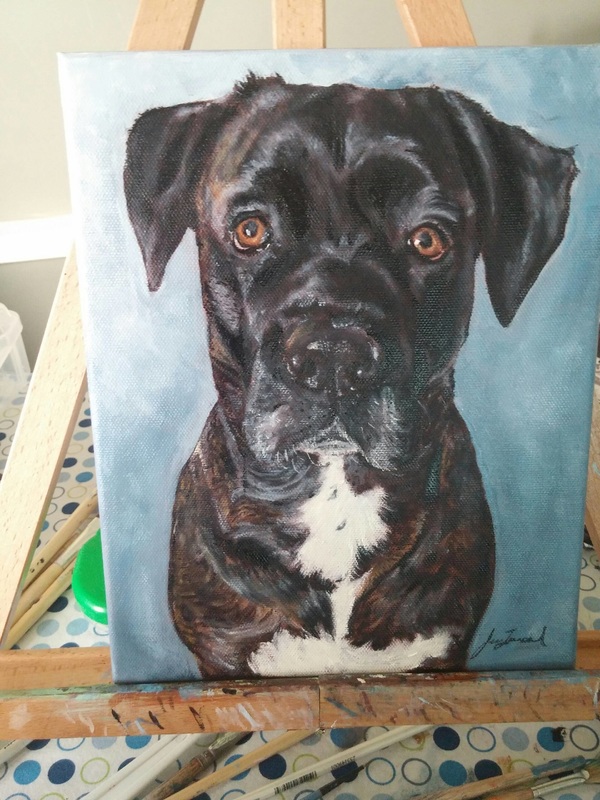
"Bailey E." was tough, but I think she came out pretty good! See below for all of my process pics.
I started with my Burnt Sienna underpainting as usual and blocked in my darks with a dark umber. From there I built up that umber to a chromatic black that I mixed from Ultramarine, Alizarin Crimson & Raw Umber. After I got that pretty much all over, I then went into my darkest areas with another chromatic black that was even darker than the other, by adding more ultramarine to the mix. The tough part for me was covering all of that underpainting without rushing it and overlooking the different "black" undertones. If that happened I would end up with a dull black blob! So... once I got that to where I liked it I took my leap of faith. Adding straight from the tube Lamp black. My plan was to use this for only the darkest of the dark spots. I had my fingers crossed it would work. After I tried it out on the left ear and eye area, I got up from my easel, walked across the room and nervously turned around to see if it was working. IT WAS! Bob looked at me like I was nuts! I was cheering as if my favorite team just made a goal! Thing is, I wasn't sure how the lamp black would play on my chromatic black, and if this didn't work I didn't know HOW I would get the depth I was looking for unless I could mix an even deeper chromatic black. (which I'm sure is possible...but glad this worked out!)
As far as the whites, same as my other explorations into white highlights except here I had to be careful when I blended as to not get a muddy flat grey when the whites hit the lamp black.
"Bailey E." was tough, but I think she came out pretty good! See below for all of my process pics.


 RSS Feed
